Cricut Permanent Vinyl: Shiny Side Up Or Down? A Comprehensive Guide
When it comes to crafting with Cricut permanent vinyl, one of the most common questions is whether the shiny side should be up or down during cutting. This question often baffles beginners and even intermediate crafters. Proper understanding of this process is crucial for ensuring high-quality results in your projects.
Cricut permanent vinyl has become a popular choice among crafters due to its durability and versatility. Whether you're creating wall decals, car decals, or custom stickers, knowing how to handle the vinyl correctly is essential. The shiny side of the vinyl plays a significant role in the cutting process, and understanding its placement can significantly impact the outcome of your project.
In this article, we will delve into the specifics of Cricut permanent vinyl, including the correct placement of the shiny side, tips for successful cutting, and troubleshooting common issues. By the end of this guide, you'll have a comprehensive understanding of how to use Cricut permanent vinyl effectively.
Read also:Toilet King Minnesota The Throne Of Comfort And Innovation
Table of Contents
- Understanding Cricut Permanent Vinyl
- Shiny Side Up or Down: The Debate
- Preparing Your Vinyl for Cutting
- The Cutting Process
- Tips for Application
- Common Issues and Solutions
- Choosing the Right Material
- Maintenance and Care
- Project Ideas with Permanent Vinyl
- Conclusion and Call to Action
Understanding Cricut Permanent Vinyl
Cricut permanent vinyl is a high-quality material designed for long-lasting projects. It is ideal for outdoor and indoor use, making it a versatile option for various crafting needs. The vinyl consists of two main layers: the adhesive layer and the protective layer.
Key Features of Cricut Permanent Vinyl
Here are some key features of Cricut permanent vinyl:
- Durability: Designed to withstand weather conditions and UV exposure.
- Adhesive Strength: Strong adhesive that ensures the vinyl stays in place for years.
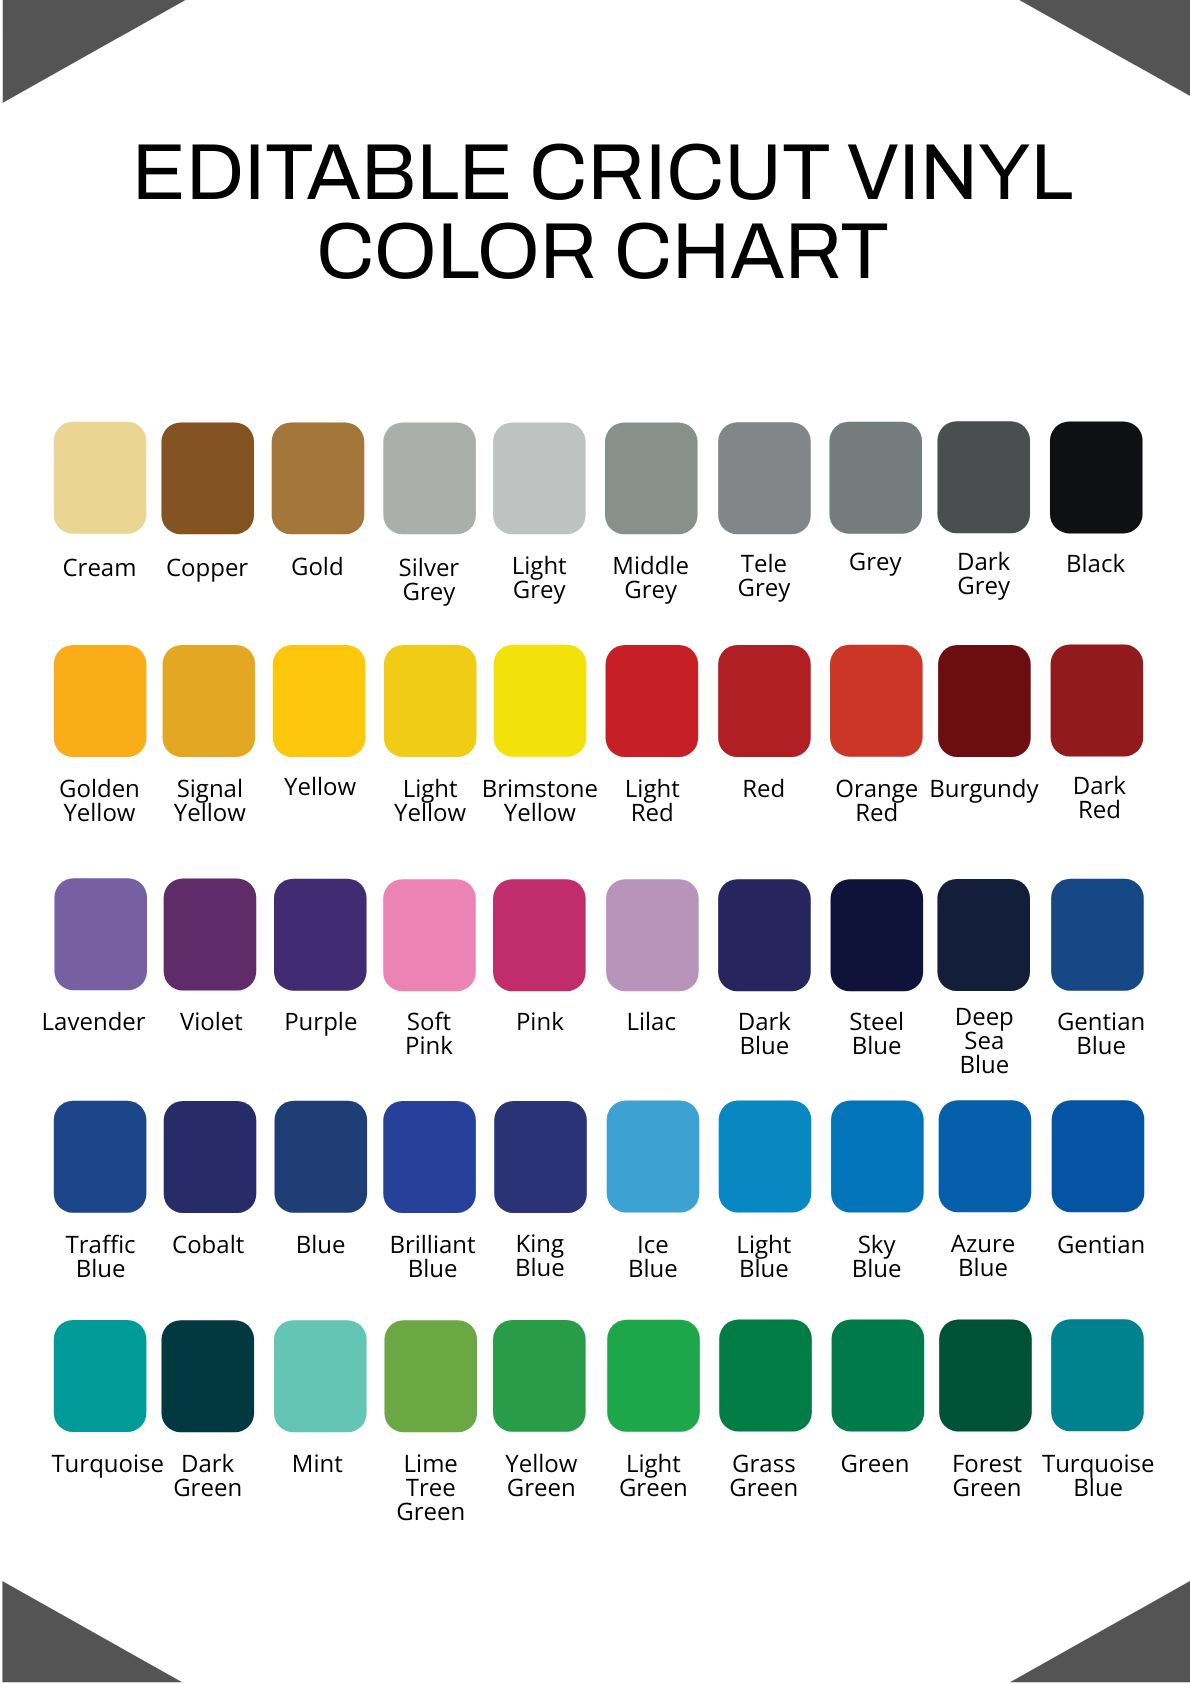
- Versatility: Available in various colors and finishes, allowing for creative freedom.
Understanding these features is essential for making the most out of your crafting experience.
Shiny Side Up or Down: The Debate
One of the most debated topics among Cricut users is whether the shiny side of the permanent vinyl should be placed up or down during the cutting process. This confusion arises because the shiny side is often mistaken for the protective layer.
Clarifying the Shiny Side
The shiny side of the Cricut permanent vinyl is the side that will be visible in your final project. It is important to note that this side should face up during the cutting process. Placing it correctly ensures that the design is cut accurately without damaging the vinyl.
Studies and user experiences have consistently shown that cutting with the shiny side up results in cleaner cuts and better overall quality. According to Cricut's official guidelines, this method minimizes the risk of tearing or damaging the vinyl during application.
Read also:Rosemary Beach Helene The Ultimate Guide To Your Dream Getaway
Preparing Your Vinyl for Cutting
Before you begin cutting your Cricut permanent vinyl, proper preparation is essential. This step ensures that the vinyl is ready for the cutting process and minimizes the risk of errors.
Steps for Preparing Vinyl
Follow these steps to prepare your vinyl:
- Clean the vinyl surface to remove any dust or debris.
- Measure the vinyl to ensure it fits your cutting mat.
- Secure the vinyl onto the cutting mat using a brayer or roller.
By following these steps, you can ensure that your vinyl is properly aligned and ready for cutting.
The Cutting Process
Once your vinyl is prepared, the next step is to cut your design. This process involves loading the vinyl onto your Cricut machine and setting the appropriate cutting settings.
Setting Up Your Cricut Machine
Here are the steps to set up your Cricut machine for cutting:
- Load the cutting mat into your Cricut machine.
- Select the "Permanent Vinyl" material setting on your machine.
- Adjust the blade depth according to the thickness of the vinyl.
Properly setting up your machine ensures that the cuts are precise and the vinyl is not damaged during the process.
Tips for Application
After cutting your design, the next step is to apply it to your desired surface. Applying Cricut permanent vinyl requires careful attention to detail to ensure a smooth and professional finish.
Best Practices for Application
Here are some tips for applying Cricut permanent vinyl:
- Use a transfer tape to lift the design from the backing sheet.
- Smooth out any bubbles or wrinkles using a squeegee or credit card.
- Allow the vinyl to settle for a few hours before removing the transfer tape.
Following these tips can help you achieve a flawless application and enhance the longevity of your project.
Common Issues and Solutions
Even with proper preparation and application, issues can arise when working with Cricut permanent vinyl. Understanding common problems and their solutions can help you troubleshoot effectively.
Addressing Common Problems
Here are some common issues and their solutions:
- Blurred Edges: Adjust the blade depth and ensure the vinyl is securely attached to the cutting mat.
- Bubbles During Application: Use a squeegee to gently press out air bubbles.
- Lifting Edges: Ensure the surface is clean and free of oils or dirt before application.
By addressing these issues promptly, you can ensure that your projects turn out perfectly every time.
Choosing the Right Material
While Cricut permanent vinyl is a popular choice, there are other materials available for crafting. Understanding the differences between these materials can help you make an informed decision.
Comparison of Vinyl Types
Here is a comparison of popular vinyl types:
- Permanent Vinyl: Ideal for long-lasting projects and outdoor use.
- Removable Vinyl: Suitable for temporary projects and indoor use.
- Heat Transfer Vinyl: Perfect for fabric-based projects like t-shirts and tote bags.
Choosing the right material depends on the specific requirements of your project.
Maintenance and Care
Proper maintenance and care of your Cricut permanent vinyl projects can extend their lifespan and maintain their appearance.
Caring for Your Vinyl Projects
Here are some tips for maintaining your vinyl projects:
- Avoid exposing the vinyl to harsh chemicals or abrasive materials.
- Regularly clean the surface with a mild detergent and water.
- Reapply the vinyl if edges begin to lift or peel.
By following these maintenance tips, you can ensure that your projects remain vibrant and durable for years to come.
Project Ideas with Permanent Vinyl
Now that you have a comprehensive understanding of Cricut permanent vinyl, here are some project ideas to inspire your creativity:
Inspirational Projects
- Create personalized wall decals for your home or office.
- Design custom car decals to showcase your personality.
- Make unique stickers for branding or promotional purposes.
These projects not only enhance your crafting skills but also add value to your personal and professional life.
Conclusion and Call to Action
In conclusion, understanding whether the shiny side of Cricut permanent vinyl should be up or down is crucial for achieving high-quality results in your crafting projects. By following the guidelines and tips outlined in this article, you can ensure that your projects are both professional and long-lasting.
We invite you to share your experiences and projects in the comments below. Additionally, feel free to explore other articles on our site for more crafting inspiration and tips. Happy crafting!
For further reading, consider checking out the following resources:


